用VB.net2008编写屏幕抓捕程序
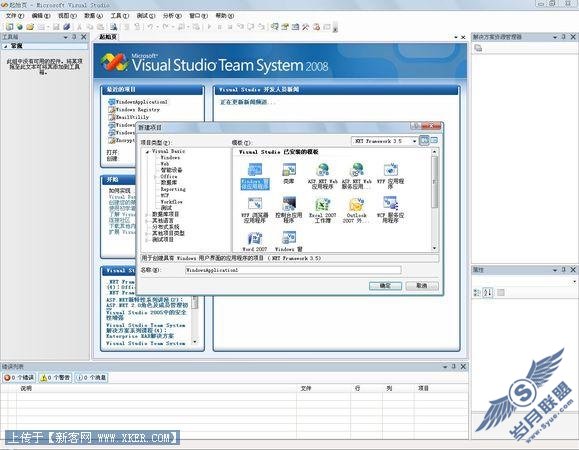
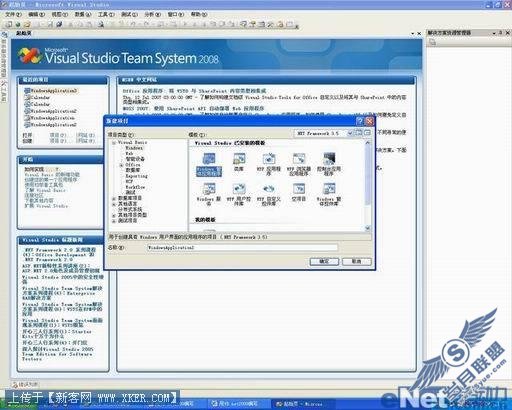
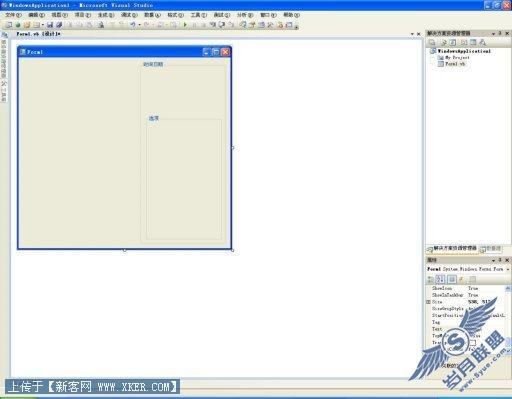
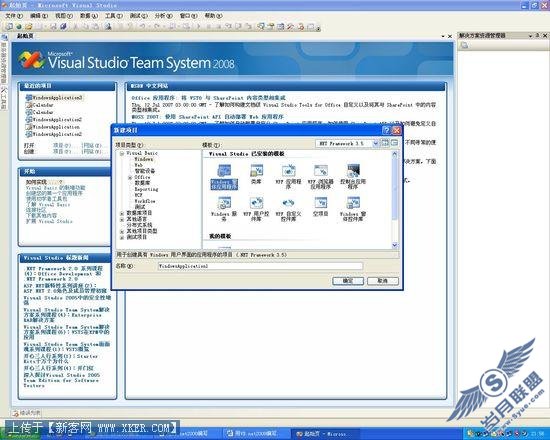
打开 Visual Studio 2008在文件 (File) 菜单上,单击新建项目 (New Project)。 在新建项目 (New Project) 对话框的模板 (Templates) 窗格中,单击 Windows 应用程序(Windows Application)。单击确定 (OK) 如图1。
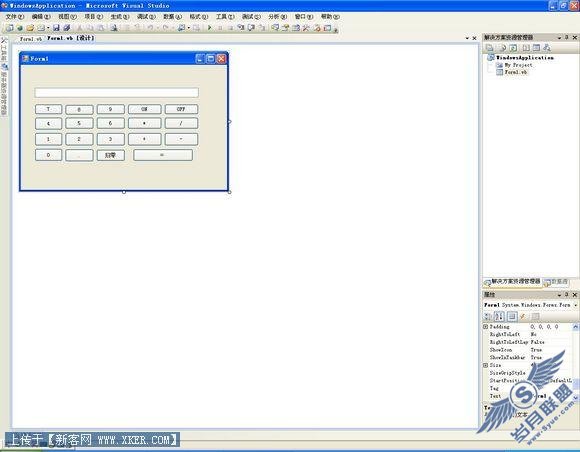
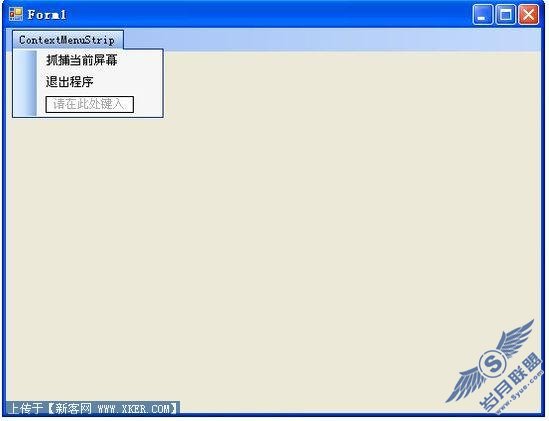
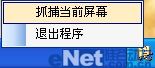
选择Form1窗体,在Form1窗体中添加ContextMenuStrip1控件,选中ContextMenuStrip1控件输入<抓捕当前屏幕>与<退出程序>。我们需要在程序最小化时,作为调用程序右键菜单的功能选项。如图2
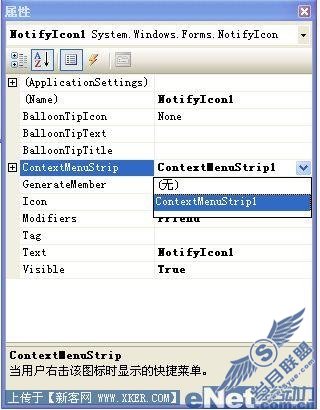
随后我们需要在Form1中添加NotifyIcon1控件,NotifyIcon1控件作为程序图标显示到窗体的任务栏中。我们选择NotifyIcon1控件的Icon属性选择一个喜欢的图标。接下来最重要的一步就是进行图标和快捷菜单的绑定了。我们需要选择NotifyIcon1控件的ContextMenuStrip属性,选中菜单下拉框中的ContextMenuStrip1这样就进行绑定了。如图3
好了现在界面工作我们已经完成了接下来我们需要进行输入代码的工作了
首先进行声明:
Imports System.Runtime.InteropServices
Imports System.Drawing.Imaging
Public Class Form1
_
Private Shared Function BitBlt(ByVal hdcDest As IntPtr, ByVal nXDest As Integer, ByVal nYDest As Integer, ByVal nWidth As Integer, ByVal nHeight As Integer, ByVal hdcSrc As IntPtr, _
ByVal nXSrc As Integer, ByVal nYSrc As Integer, ByVal dwRop As Integer) As Boolean
End Function
_
Private Shared Function CreateDC(ByVal lpszDriver As String, ByVal lpszDevice As String, ByVal lpszOutput As String, ByVal lpInitData As IntPtr) As IntPtr
End Function
Private picture As Bitmap = Nothing '以picture作为图片格式的声明
‘声明Public Sub capture_window()
Public Sub capture_window()
Me.Visible = False
Dim capture1 As IntPtr = CreateDC("DISPLAY", Nothing, Nothing, Nothing)
Dim get1 As Graphics = Graphics.FromHdc(capture1)
'创建一个新的Graphics对象
picture = New Bitmap(Screen.PrimaryScreen.Bounds.Width, Screen.PrimaryScreen.Bounds.Height, get1)
'根据屏幕大小创建一个相同大小的Bitmap
Dim get2 As Graphics = Graphics.FromImage(picture)
Dim get3 As IntPtr = get1.GetHdc() '获取屏幕的句柄
Dim get4 As IntPtr = get2.GetHdc() '获取位图的句柄
BitBlt(get4, 0, 0, Screen.PrimaryScreen.Bounds.Width, Screen.PrimaryScreen.Bounds.Height, get3, _
0, 0, 13369376) '把当前屏幕复制到位图中
get1.ReleaseHdc(get3) '释放屏幕句柄
get2.ReleaseHdc(get4) '释放位图句柄
picture.Save("CapturePicture.jpg", ImageFormat.Jpeg)
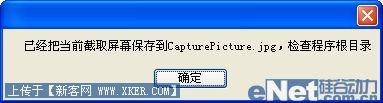
MessageBox.Show(" 已经把当前截取屏幕保存到CapturePicture.jpg,检查程序根目录")
Me.Visible = True
End Sub
进入 捕获当前屏幕ToolStripMenuItem_Click事件中
Private Sub 捕获当前屏幕ToolStripMenuItem_Click(ByVal sender As System.Object, ByVal e As System.EventArgs) Handles 捕获当前屏幕ToolStripMenuItem.Click
capture_window() '调用函数,开始捕获程序
End Sub
进入 退出程序ToolStripMenuItem_Click事件中
Private Sub 退出程序ToolStripMenuItem_Click(ByVal sender As System.Object, ByVal e As System.EventArgs) Handles 退出程序ToolStripMenuItem.Click
NotifyIcon1.Visible = False
'关闭系统
Me.Close()
End Sub
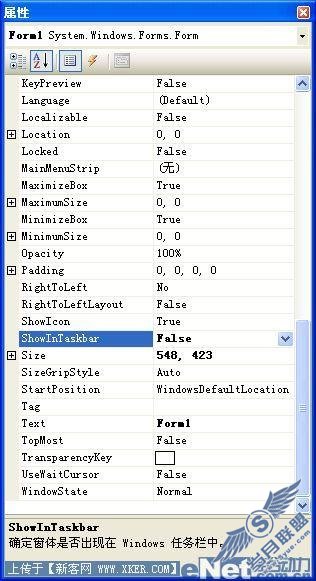
好了现在我们运行程序进行测试一下,注意如果我们不想看到Form1应用程序窗体出现在任务栏中而只是想把程序图标显示在任务栏中请选择Form1窗体中的属性ShowInTaskbar=False如图4
运行程序,选中抓捕当前屏幕即可如图5,图片将会保存在你程序的根目录中,图片名称为:CapturePicture.jpg如图6所示
程序成功运行,一个简单的屏幕捕捉程序就完成了,大家有兴趣的话还可以再去添加其他的功能,如只针对应用程序窗体进行捕捉等,使得应用程序的功能更多。