HelixServer 11 for Linux
来源:岁月联盟
时间:2008-09-21
Helix Server Unlimited v11.0.1.1884 For Linux 特别版
下载地址:
(linux公社有Helix_DNA_Server_10.1可下载,不过我喜欢新些的版本)
汉化补丁 下载地址: (解压密码:
以上两个文件都是用rar压缩的,你可以在你的linux中系统装一个rar_forlinux来解压,也可以winrar解压好再到linux系统中使用,我已经解压好了,解压后的文件都放在了同一个文件夹内.
下面是安装过程
[root@rhel ~]# cd helixserver/
[root@rhel helixserver]# ls
crack HelixAdministrator HelixServerUnlimited11_Linux.zip setup.tar.gz
[root@rhel helixserver]# tar xzvf setup.tar.gz
helix-server-retail-11.01-rhel4-setup.bin
HelixProxyAdmin.pdf
HelixProxyConfig.pdf
HelixServerAdmin.pdf
HelixServerConfig.pdf
[root@rhel helixserver]# ls
crack HelixServerConfig.pdf
HelixAdministrator helix-server-retail-11.01-rhel4-setup.bin
HelixProxyAdmin.pdf HelixServerUnlimited11_Linux.zip
HelixProxyConfig.pdf setup.tar.gz
HelixServerAdmin.pdf
[root@rhel helixserver]# chmod +x helix-server-retail-11.01-rhel4-setup.bin
[root@rhel helixserver]# ./helix-server-retail-11.01-rhel4-setup.bin
Extracting files for Helix installation........................
Welcome to the Helix Server 11.0 (11.0.1.1884) Setup for UNIX
Setup will help you get Helix Server running on your computer.
[ Press [Enter] to continue... ]
If a Helix Server license key file has been sent to you,
please enter its directory path below. If you have not
received a Helix Server license key file, then this server
WILL NOT OPERATE until a license key file is placed in
the server's License directory. Please obtain a free
Basic Helix Server license or purchase a commercial license
from our website at If you need
further assistance, please visit our on-line support area
at
License Key File: []: [ 这个是要许可证,可以先放下,等安装完再将许可证文件放入 ]
Installation and use of Helix Server requires
acceptance of the following terms and conditions:
Press [Enter] to display the license text... [ 回车,然后....有兴趣就读一读吧^_^... ]
Choose "Accept" to accept the terms of this
license agreement and continue with Helix Server setup.
If you do not accept these terms, enter "No"
and installation of Helix Server will be cancelled.
I accept the above license: [Accept]: [ 此处回车默认即可 ]
Enter the complete path to the directory where you want
Helix Server to be installed. You must specify the full
pathname of the directory and have write privileges to
the chosen directory.
Directory: [/root/helixserver]: /usr/helixserver [ 更改安装路径 ]
Please enter a username and password that you will use
to access the web-based Helix Server Administrator and monitor.
Username []: [ 设置远程管理用户名 ]
Username []:Password []: [ 设置密码 ]
Confirm Password []:
Please enter a port on which Helix Server will listen for
RTSP connections. These connections have URLs that begin
with "rtsp://"
Port [554]: [ 此处回车默认即可 ]
Please enter a port on which Helix Server will listen for
HTTP connections. These connections have URLs that begin
with "http://"
Port [80]:8080 [ 更改http传输端口,为避免和apache冲突,建议更改 ]
Please enter a port on which Helix Server will listen for
MMS connections. These connections have URLs that begin
with "mms://"
Port [1755]: [ 此处回车默认即可 ]
Helix Server will listen for Administrator requests on the
port shown. This port has been initialized to a random value
for security. Please verify now that this pre-assigned port
will not interfere with ports already in use on your system;
you can change it if necessary.
Port [11012]:11111 [ 更改远程管理访问的端口,系统默认的有时难以记住,可更改为好记的 ]
You have selected the following Helix Server configuration:
Admin User/Password: traveller2/****
Encoder User/Password: traveller2/****
Monitor Password: ****
RTSP Port: 554
HTTP Port: 8080
MMS Port: 1755
Admin Port: 11111
Destination: /usr/helixserver
Enter [F]inish to begin copying files, or [P]revious to go
back to the previous prompts: [F]:
[ 如果以上设置你没意见,此处回车默认即可,否则按P重新设置 ]
Copying Helix Server files....
Helix Server installation is complete.
If at any time you should require technical
assistance, please visit our on-line support area
at
Cleaning up installation files...
Done.
[ 安装完成 ]
[root@rhel helixserver]# ls
crack HelixServerConfig.pdf
HelixAdministrator helix-server-retail-11.01-rhel4-setup.bin
HelixProxyAdmin.pdf HelixServerUnlimited11_Linux.zip
HelixProxyConfig.pdf setup.tar.gz
HelixServerAdmin.pdf
[root@rhel helixserver]# cp -a HelixAdministrator/ /usr/helixserver/HelixAdministrator_zh/ [ 这是汉化过程,HelixAdministrator就是最初下载的汉化包解压得来 ]
[root@rhel helixserver]# cp crack/DistributedLicensing.lic /usr/helixserver/License/ [ 破解过程??^_^ ]
[root@rhel helixserver]#cd /usr/helixserver
[root@rhel helixserver]# mv HelixAdministrator HelixAdministrator_en
[ 为默认的英文语言包重命名,这样做的主要目的是,万一某一刻你突然感觉英文看着很爽,依然可以将管理界面换回英文 ]
[root@rhel helixserver]# ln -s HelixAdministrator HelixAdministrator_zh/
[root@rhel helixserver]# ls
adm_b_db default.cfg HelixAdministrator_zh Plugins
Bin default.cfg.old helixserver.my Plugins.old
Bin.old enc_b_db Lib rmserver.cfg
Cache enc_r_db Lib.old rmserver.cfg.old
cdi_b_db enc_w_db License Secure
Commerce HelixAdministrator Logs slta.cfg
Content HelixAdministrator_en master.cfg
[root@rhel helixserver]# ./Bin/rmserver rmserver.cfg & [ 启动服务器进程并让它在后台执行, ]
[root@rhel helixserver]# ps -aux |grep rmserver
Warning: bad syntax, perhaps a bogus '-'? See /usr/share/doc/procps-3.2.3/FAQ
root 2918 0.1 1.0 7000 2096 pts/0 S 18:17 0:00 ./Bin/rmserver rmserver.cfg
root 2919 7.9 61.5 324136 117592 ? Ssl 18:17 0:02 ./Bin/rmserver rmserver.cfg
root 2920 0.0 1.0 7004 2100 ? Ss 18:17 0:00 ./Bin/rmserver rmserver.cfg
[ 检查服务是否已正常启动 ]
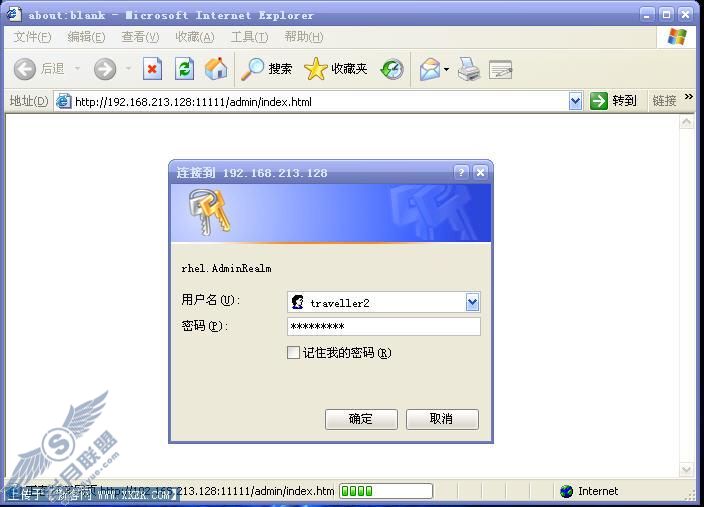
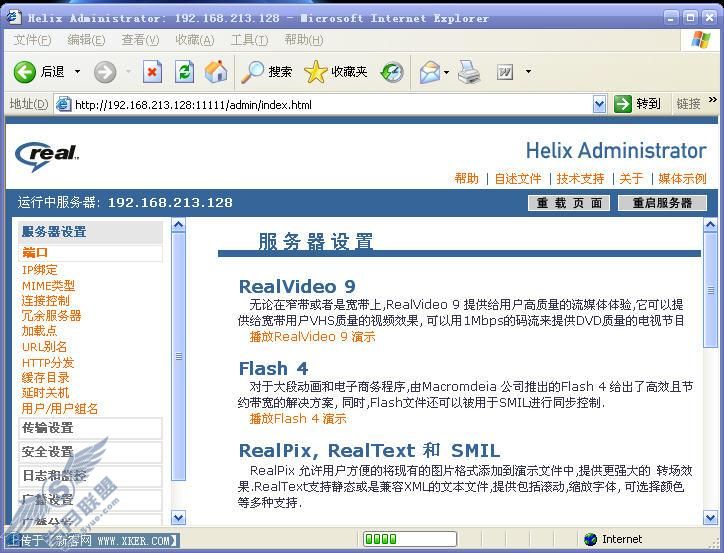
这时你的流媒体服务器已经正常运行了,可以在远程进行维护.我是在另一台WINDOWS机上进行维护的.打开IE(或其他浏览器),输入
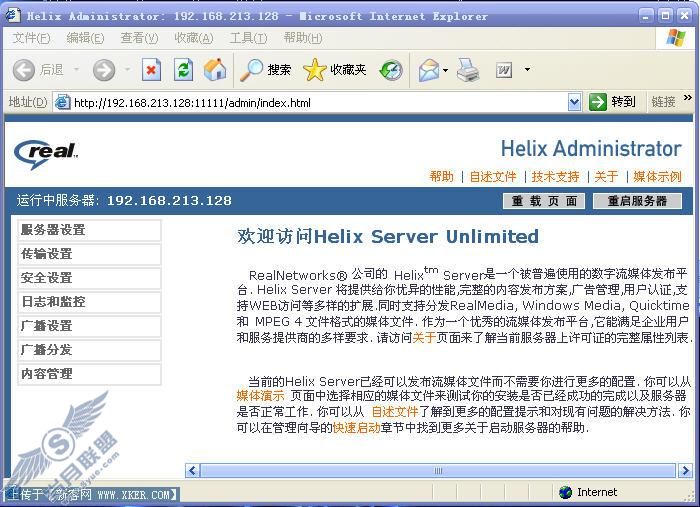
会提示让你输入用户名和密码,验证便可以看到管理界面,并且已经是全中文,如图
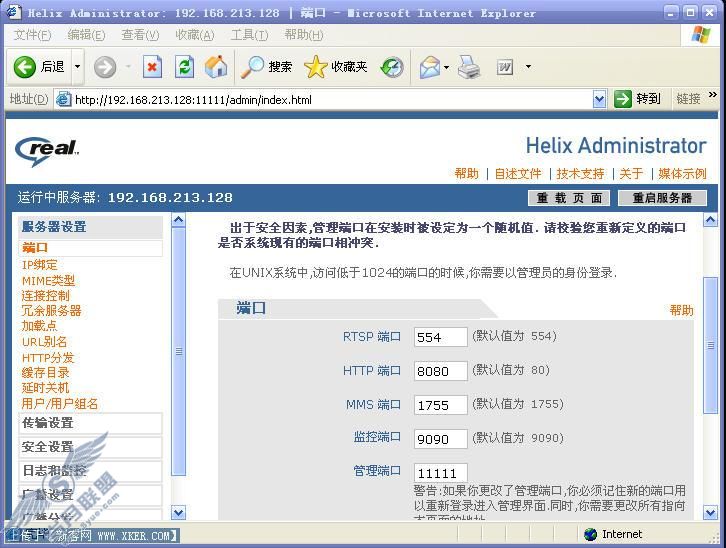
端口设置可在这里随意更改
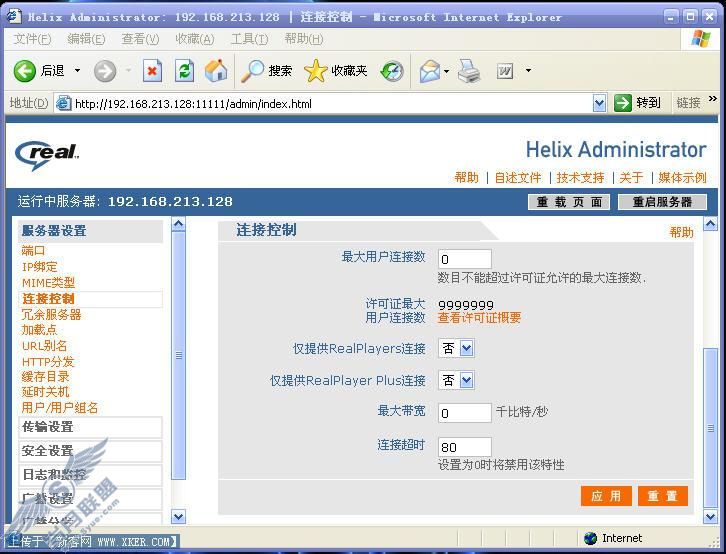
限制最大用户数:
"加载点"里的内容一般是一定要更改的
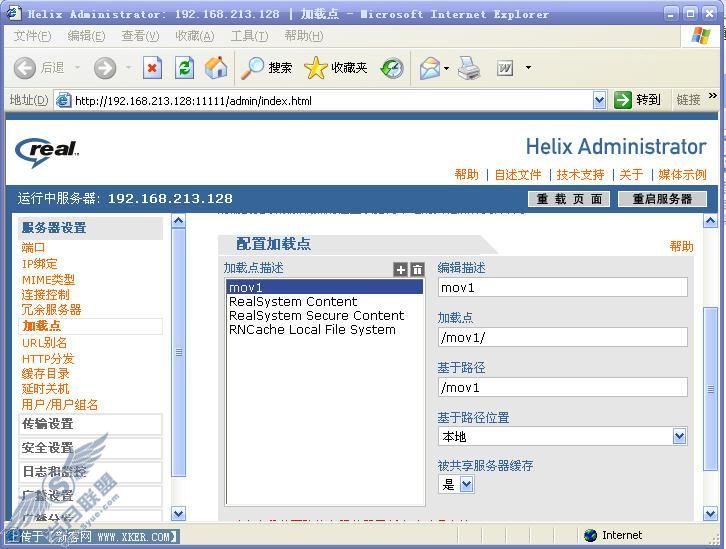
现在我添加一个新的加载点mov1,注意加载点/mov1/最后一定要有这个"/",设置好后"应用"
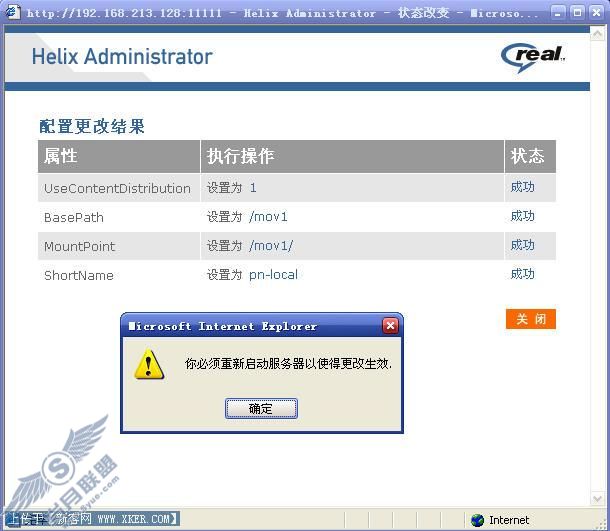
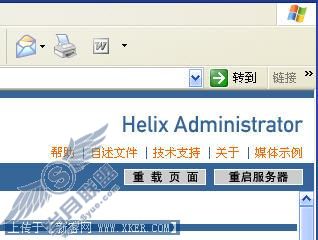
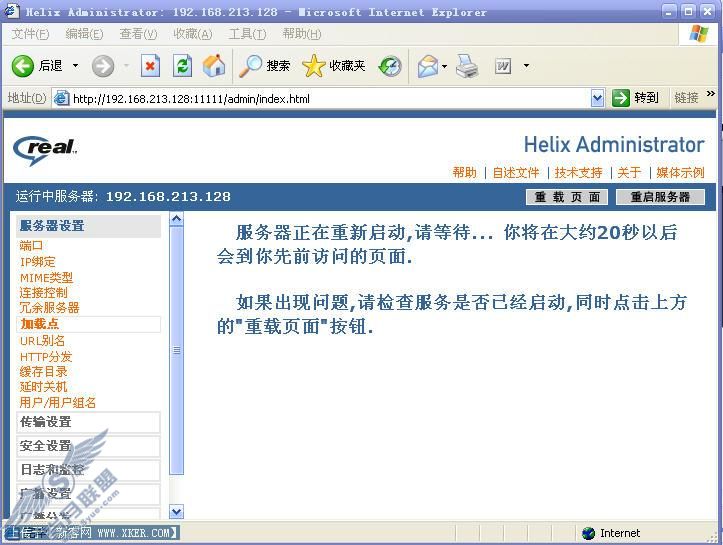
更改加载点内容后若想生效必须重新启动helixserver服务,重启服务器按钮可在管理界面的右上角看到,重启后页面会在20秒后自动刷新,一般不需要等那么久,可以手动重载页面.
Helix Server Unlimited v11.0.1.1884已经将以前放在 "服务器设置中"的"媒体演示"功能也挪到,了右上角,和帮助等放在了一起,这样的更改的确更合理,你可以转到"媒体演示"页面进行服务器测试.这时你的流媒体服务器已基本能满足要求.
可监控服务器运行状态
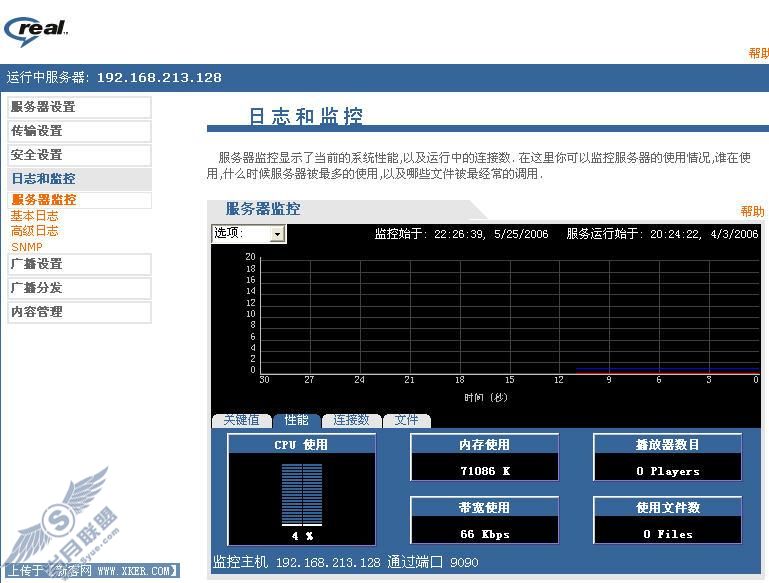
helixserver还可以做许多设置,如访问控制,广播等,管理界面已经是中文,应当不难看懂,有些功能我自己也没有摸清楚,您可以到网上查到一些关于设置的文章,最好的教程是它的帮助文档.

