Photoshop制作夜空星球效果教程
Photoshop Space Tutorial
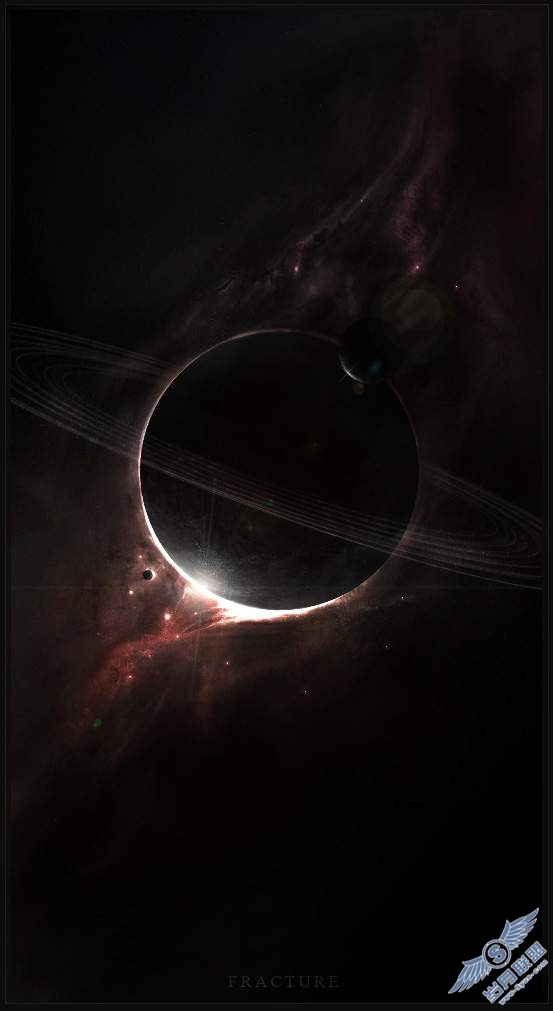
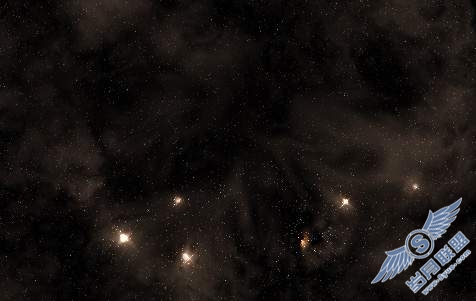
The techniques below will show you how to create an image similar to the final result I have obtained below although the image below took 3 hours to paint with alot of fine detail work, you will still get the idea ;)
Also check out this Photoshop Space And Planet Tutorial.
Photoshop Stars
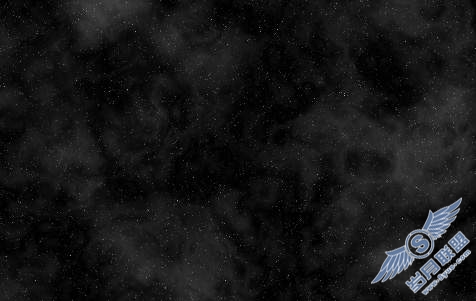
Follow the tutorial steps below to create the faint background stars.
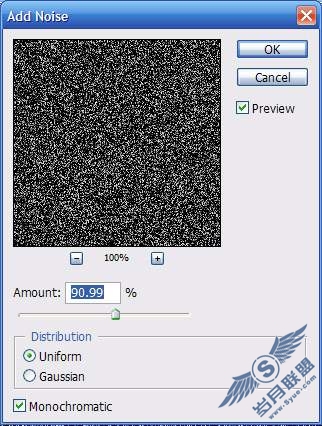
Create monochromatic noise
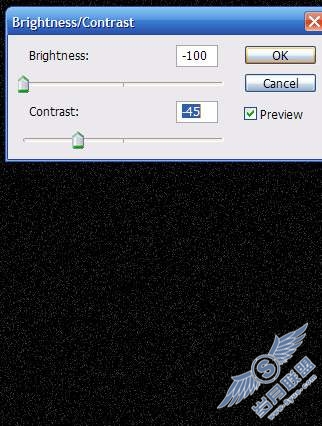
Image >> Adjust >> Brightness/Contrast. Play with settings until you get a result similar to above.
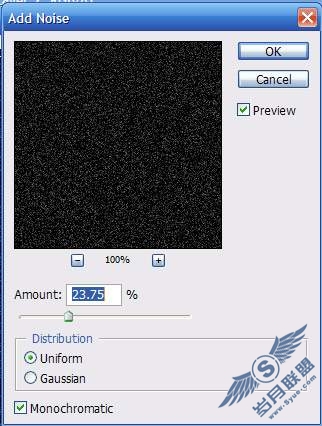
Repeat the first step

Repeat the brightness/contrast adjustment again, repeat these two steps repeatedly, 6-8 times tends to provide a nice dense yet realistic star field.
Nebulas
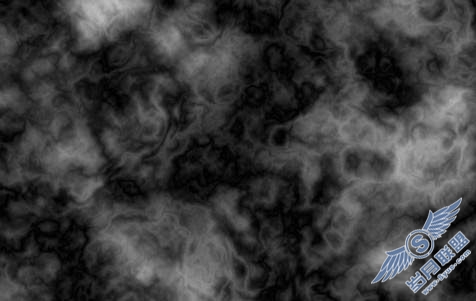
Create a new layer with a black background and add the difference cloud filter. Filters >> Render >> Difference clouds. Make sure to have your foreground and background colors to black/white which will give you the constrasty 'vain-like' effect. Press CTRL-F to repeat the filter multiple times until it looks detailed.
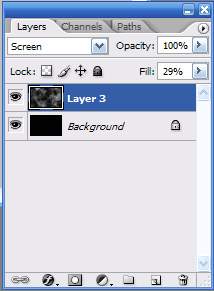
Set the new cloud layer to the blending mode of Screen and set the Fill or Opacity to around 33.
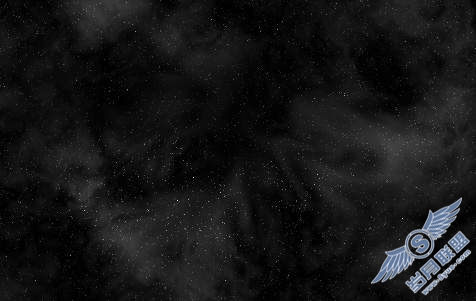
Merge the two layers together so you are left with only one. Then using the dodge and burn tools I simply used a round soft brush to paint values higher and lower to make things more dynamic.
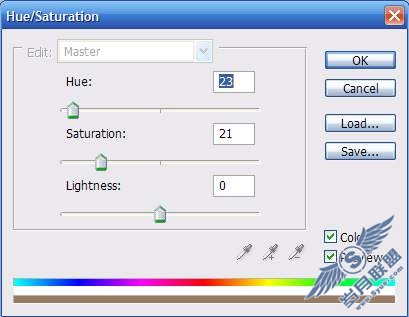
Add a colorized hue layer and select a color you would like to work with this will adjust the gray tones to new monochromatic tones. You may also choose to create multiple hue layers and mask them in order to vary the colors. Once finished merge all these layers to the bottom one.
Using the color dodge tool with a small soft brush start very small ( around 2 or 3 pixels ) and click repeatedly until the are is white, make the brush slightly bigger, and press a few less times, make the brush bigger and repeat until it appears glowing.
Photoshop Planets
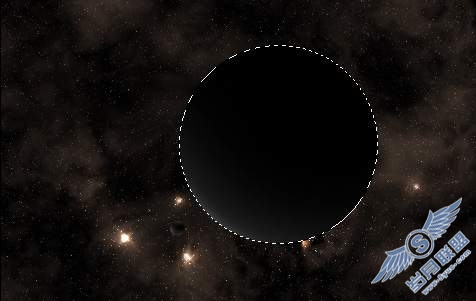
On two new layers, create two black circles which will become planets.
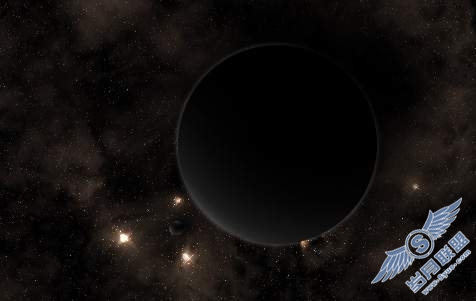
With a planet selected take a round soft brush and press and drag along the outside of the selection which will fill in the lit side. Continue to play around with this, it takes careful lighting to get the desired effect.
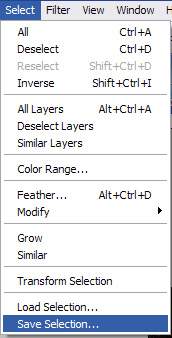
Select each planet and save it as a new selection for use later when merged with our bottom layer. Now merge the planets with the bottom layer.
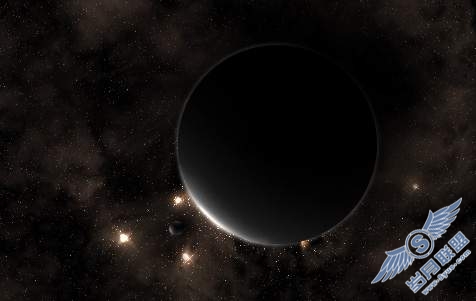
Now with the layers merged its easier to use the color dodge tool to brush the edge of the planets making them 'glow'.
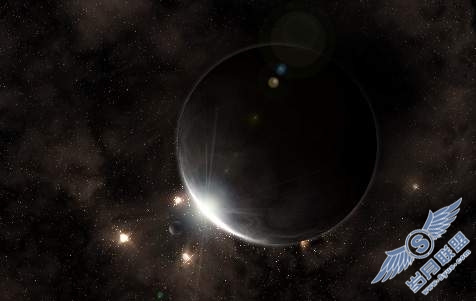
Use the lens flare filter and set the flare point to the lit point of the planet which adds nice depth to the image. The result is not as pretty as the sample above, but I could not possibly document the level of detail work that really goes into an image like that but these techniques will get you heading in the right direction.