被动扫描器之插件篇
来源:岁月联盟
时间:2020-01-29
在这,以我开发的 Burp 插件 r-forwarder-burp 为例,使用 J**A 开发。在开发 Burp 插件需要注意几点。必须定义一个 BurpExtender 类,并且必须实现 IBurpExtender,如果还需要其他 API 可以实现多个其它接口,J**A 中的类是可以实现多个接口的。另外还需要重写父类中的 registerExtenderCallbacks 方法。同样,针对被动扫描器的需求,在 Burp 插件中我们最主要涉及的接口是 IHttpListener 接口。这个主要涉及到 HTTP
public interface IHttpListener
{
/**
* This method is invoked when an HTTP request is about to be issued, and
* when an HTTP response has been received.
*
* @param toolFlag A flag indicating the Burp tool that issued the request.
* Burp tool flags are defined in the
* IBurpExtenderCallbacks interface.
* @param messageIsRequest Flags whether the method is being invoked for a
* request or response.
* @param messageInfo Details of the request / response to be processed.
* Extensions can call the setter methods on this object to update the
* current message and so modify Burp's behavior.
*/
void processHttpMessage(int toolFlag,
boolean messageIsRequest,
IHttpRequestResponse messageInfo);
}
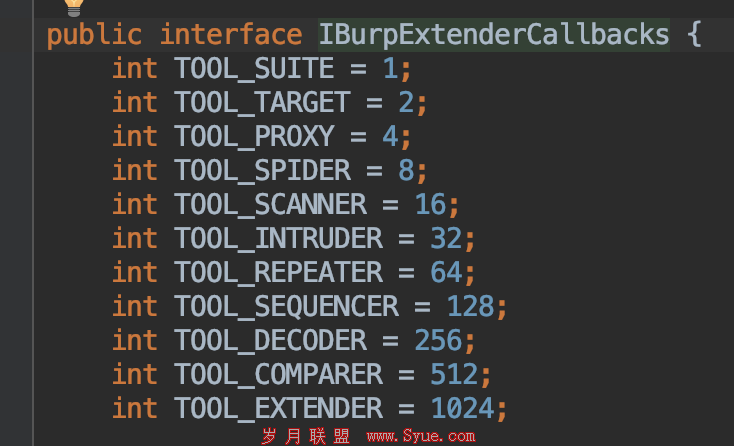
在 processHttpMessage 方法中,主要涉及到以上3个参数。toolFlag 主要指的是和请求相关的 Burp 工具,比如 Proxy 以及 Repeater。可以在 IBurpExtenderCallbacks 接口中看到相应的定义。
messageIsRequest 则表示是请求还是响应,而我们只关心请求部分。通过解析 messageInfo 则可以获取请求头以及请求体数据。
public MapString, String> getHeaders(IHttpRequestResponse messageInfo) {
MapString, String> headers = new HashMap();
IRequestInfo analyzeRequest = helpers.analyzeRequest(messageInfo);
ListString> h = analyzeRequest.getHeaders();
for (String h1: h) {
if (h1.startsWith("GET") || h1.startsWith("POST")) {
continue;
} else {
String[] header = h1.split(":", 2);
headers.put(header[0], header[1].trim());
}
}
return headers;
}
private String getBody(IHttpRequestResponse messageInfo) {
IRequestInfo requestInfo = helpers.analyzeRequest(messageInfo);
int bodyOffset = requestInfo.getBodyOffset();
byte[] byteRequest = messageInfo.getRequest();
byte[] byteBody = Arrays.copyOfRange(byteRequest, bodyOffset, byteRequest.length);
return new String(byteBody);
}
上面是简单开发的内容方面的介绍,其它方面可以直接看源代码了解更多,尤其是 GUI 开发的部分。另外想说明的一点就是如何打 jar 包。通过 maven-assembly-plugin 插件可以很方便地打包,只需要配置如下,然后通过 mvn package 即可进行打包。
org.apache.maven.plugins
maven-assembly-plugin
package
single
jar-with-dependencies
另外注意如果使用了外部依赖的时候,需要配置 jar-with-dependencies,这样在打包的时候就可以把依赖的 jar 包一并打进去。最后,成品的 jar 包安装之后就可以使用了。
上一页 [1] [2] [3] 下一页