Photoshop设计制作战争电影海报
Designing a war movie poster
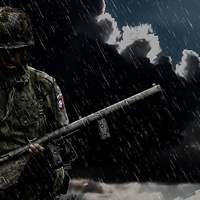
In this tutorial I will show you guys some simple but efficient techniques that will help you make great movie posters.

Step 1
In this tutorial we are going to use only 2 stock images that I found on SXC.
Here are the links:
http://www.sxc.hu/browse.phtml?f=view&id=912717
http://www.sxc.hu/browse.phtml?f=view&id=1047566
Step 2
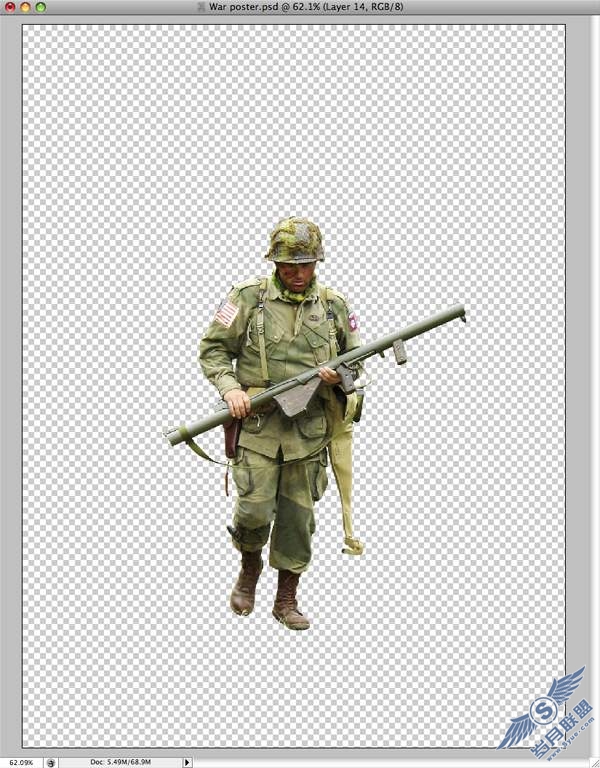
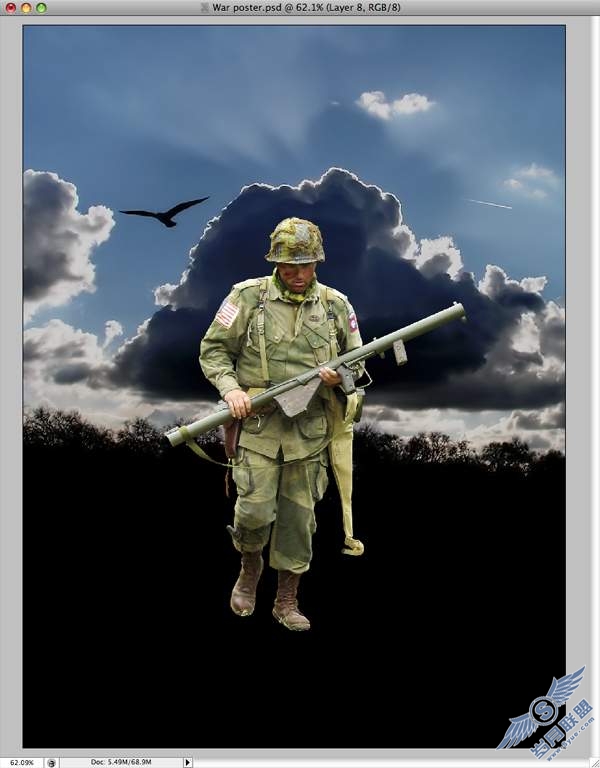
First thing you need to do is to cut the soldier out of the background using the Pen Tool (P) and delete the background. Leave only the soldier visible and a transparent background. Name the layer Soldier.
Step 3
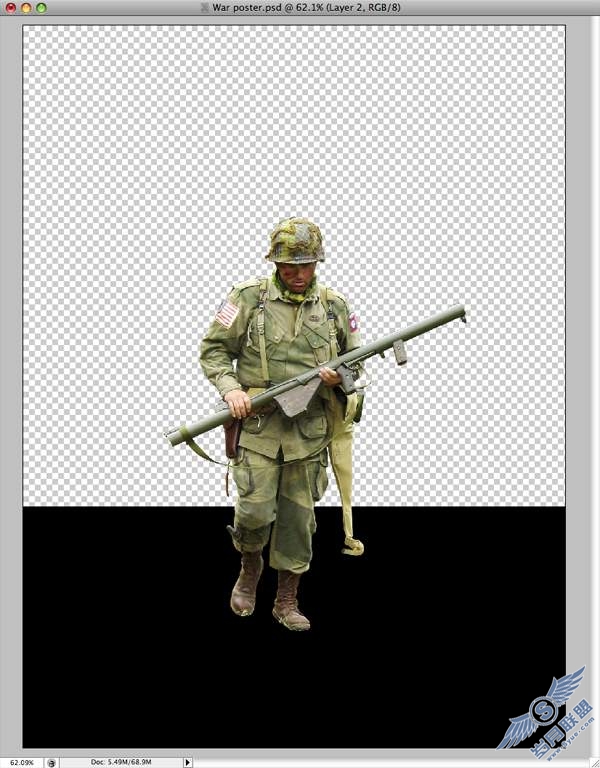
Next I want you to make a new layer and place it under the Soldier layer.
Using the Rectangular Marquee Tool (M) make a selection and fill it with black as I did. Name the layer Ground.
Step 4
Next I need you to bring on the project the other image stock and resize it and maybe remove the pigeons using the Clone Stamp Tool (S). Also name the layer Sky.
Step 5
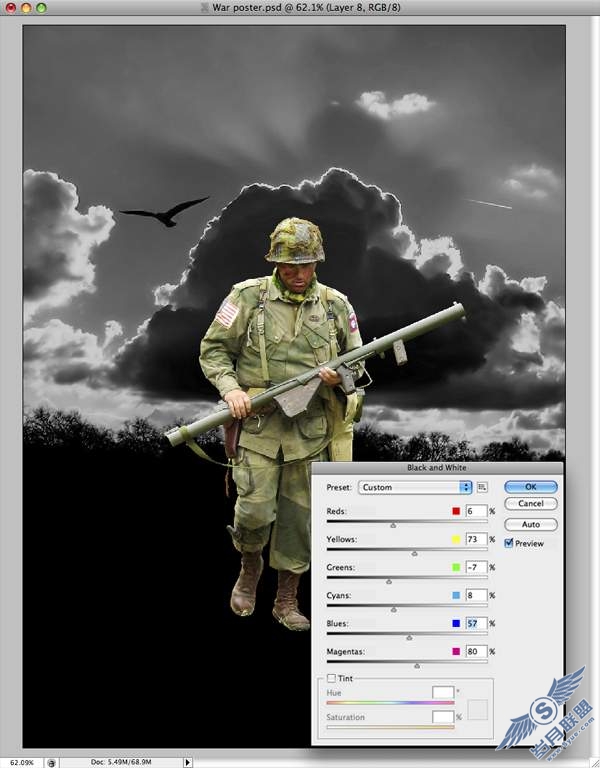
Duplicate the sky image and then go to Image – Adjustments – Black & White and play with the settings a little. If you are not using Photoshop CS3 you might not have this buttons. In this case use the Desaturate button.
Step 6
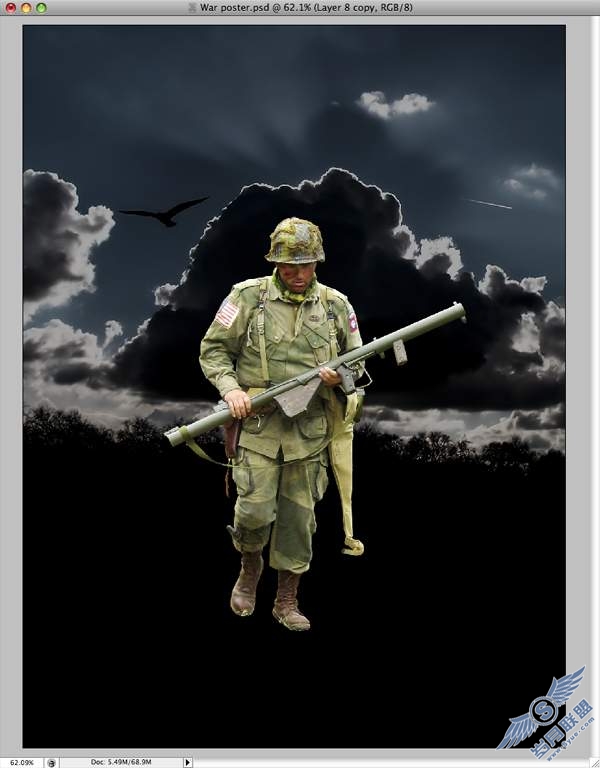
Now set the Black & White sky layer to Multiply.
Step 7
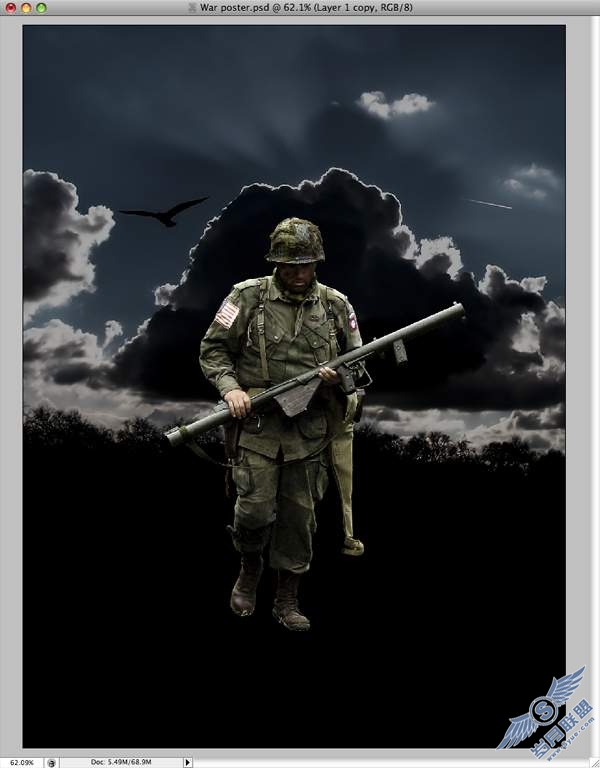
Again repeat step 5 but this time, apply the technique to the Soldier.
Step 8
Now duplicate the Soldier layer that you just made Black & White to make the soldier darker.
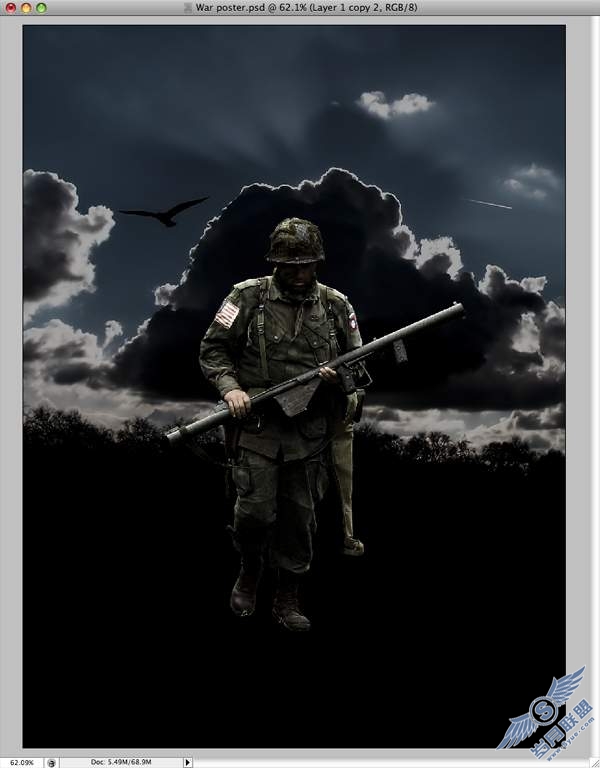
Step 9
Make a new layer and place it above all the layers. Using the Brush Tool (B) simply brush with black over the soldiers feet.
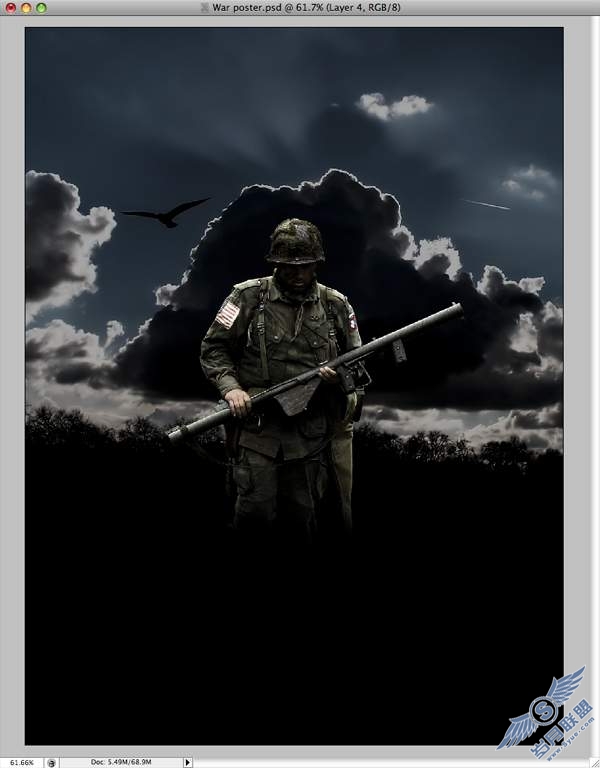
Step 10
Repeat step 9 but, this time make a selection of the soldier and brush as I did.
Next set the layer to Multiply and Opacity 33%.

Step 11
Make a new layer over the soldier. Fill it with white and go to Filter – Render – Clouds. Now go to Filter – Sketch – Chrome. Set the Details to 10 and Sharpness to 10.

Step 12
Transform the chrome layer. Next you need to mask it to be visible only around the soldier. Last set it to Multiply and 78% Opacity. This will make the soldier look like he is wet.

Step 13
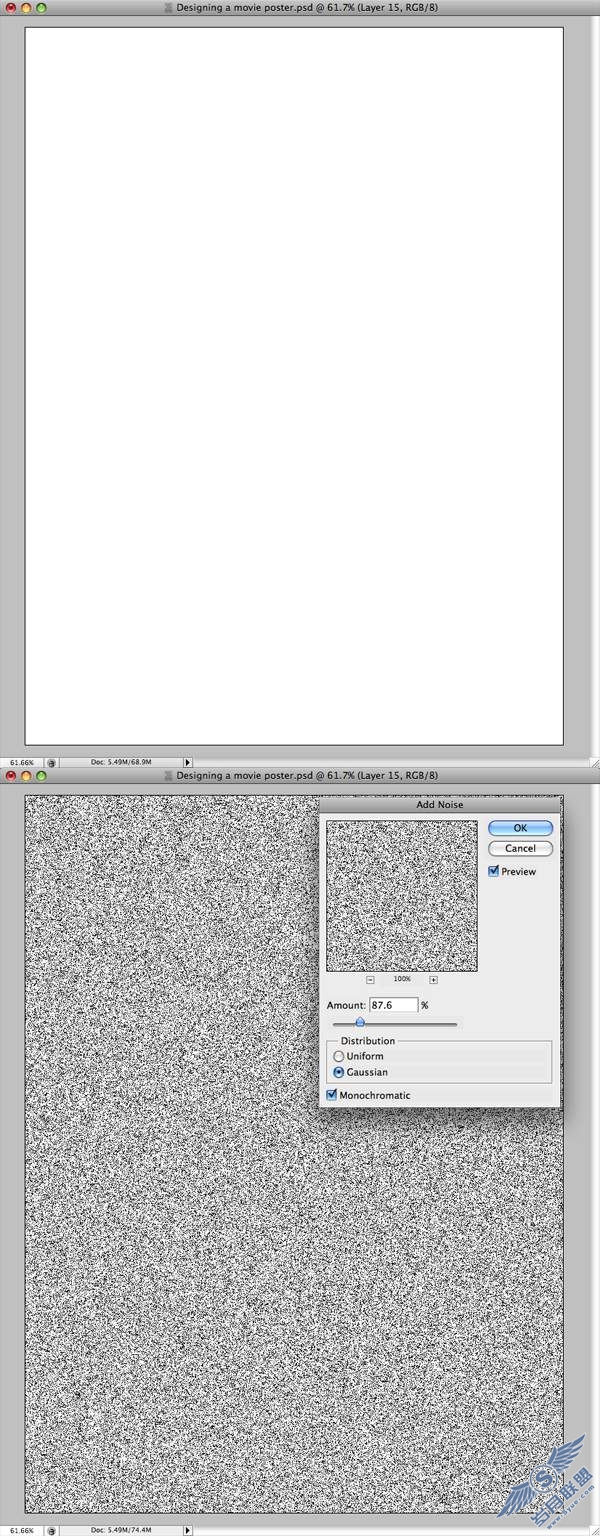
In this step we will make the rain.
Make a new layer, name it Rain and place it over all the other layers. Fill the layer with white then go to Filter – Noise – Add Noise.
Step 14
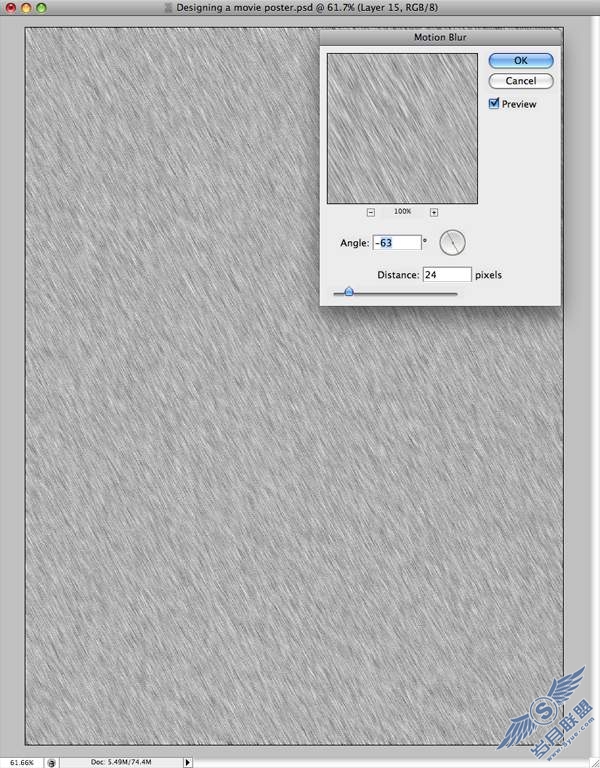
Next go to Filter – Blur – Motion Blur and set it to 24 pixels and angle -63.
Step 15
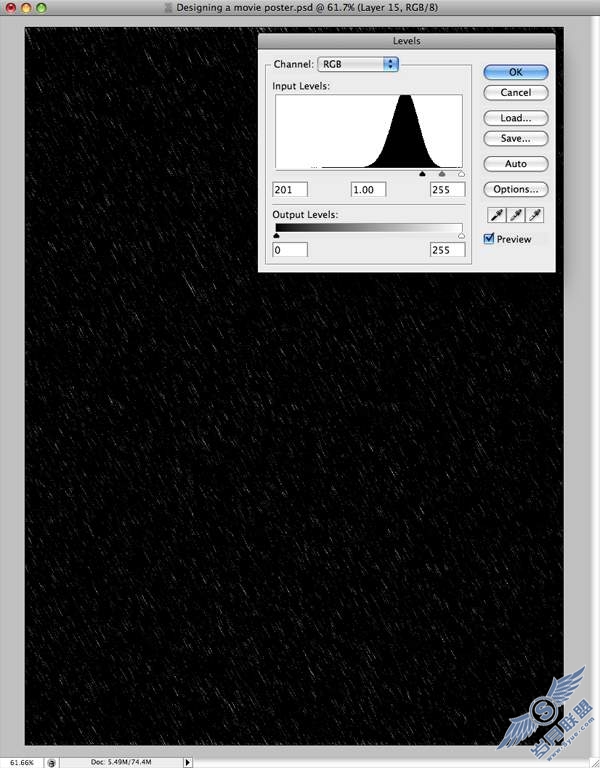
Now go to Image – Adjustments – Levels and use my settings:
Step 16
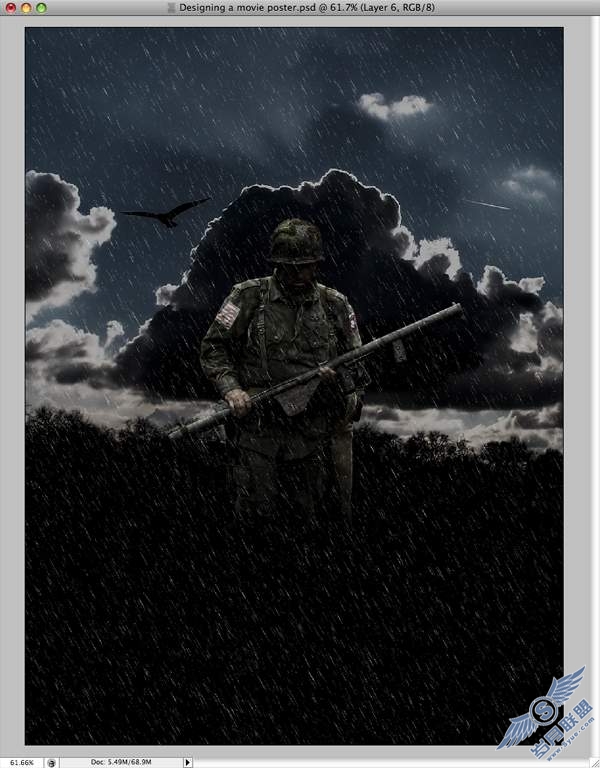
Last thing you want to do is to set the Blending Options to Screen.
Step 17
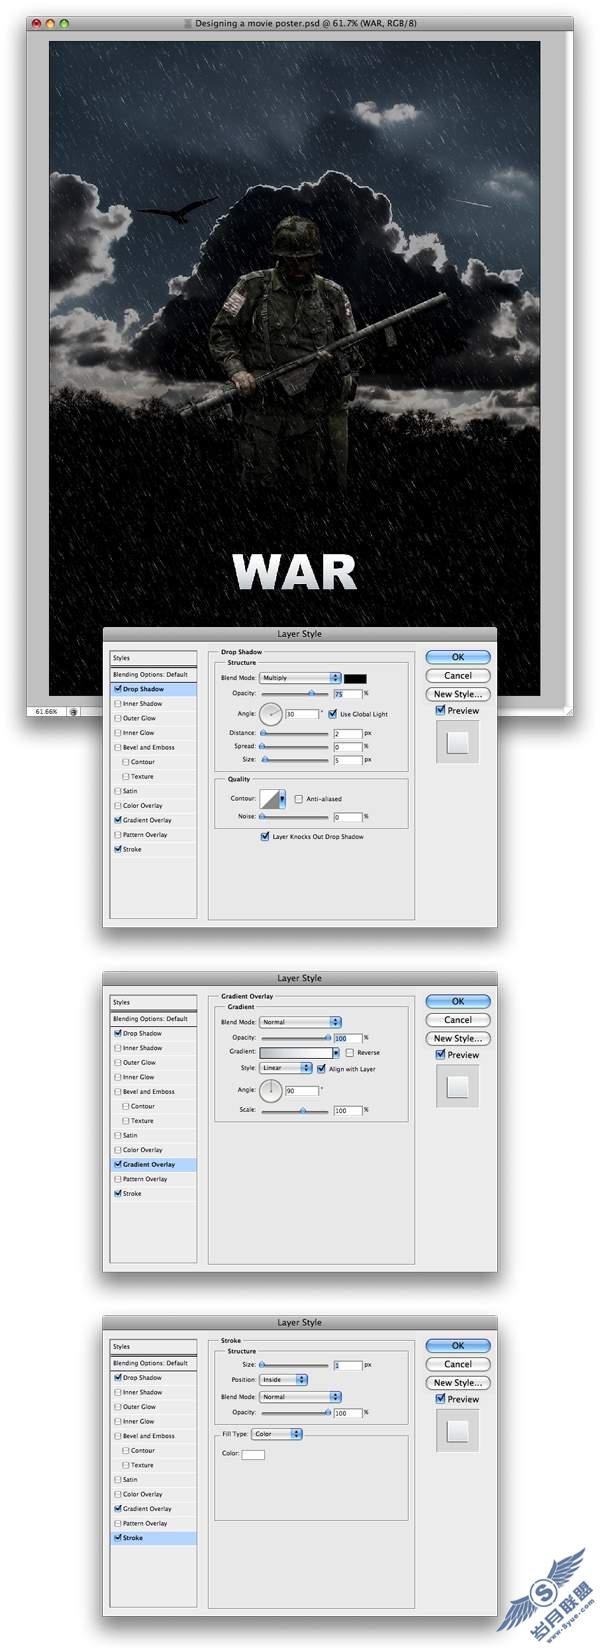
Now you need to start adding you text. Use my settings for the Blending Options.
Step 18
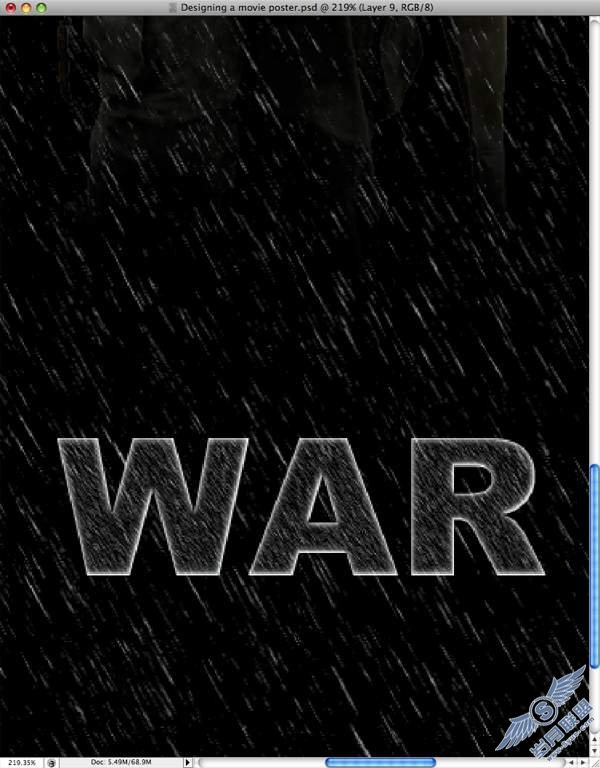
Next make another rain layer just as you did with the first rain layer you made. But this time you will leave the rain to be more intense and also mask the rain layer into the WAR text as I did.
Step 19
Set the layer to Multiply and Opacity 62%.
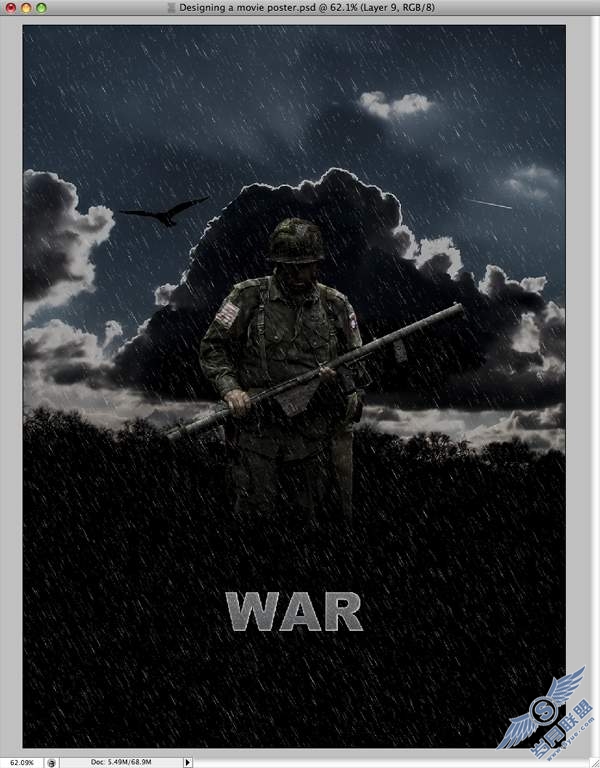
Step 20
Next you will need to add your own text. For the rest of the text I did not used any effect. Just made the text grey #9f9f9f.
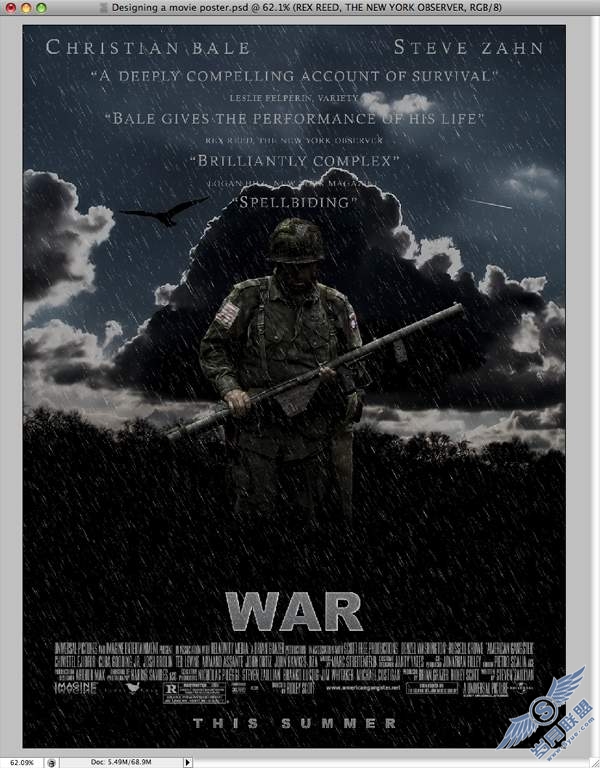
Final
In the end you will be able to add more detail to the soldier by brushing some white over him as I did.
Keep experimenting and use what you learned here with your own techniques.

