Photoshop制作阴森怪异大自然图片
How to Create a Slice of Nature Photo Manipulation
Today I'm going to show you how to put together a complex tree illustration. The idea for this tutorial is to show a workflow from concept to finish, not just so you can copy this illustration, but so that you can take the ideas behind it and use them for any design you have. It's not just the finished design but the process we are after.
All of this was accomplished on a pretty standard system with Adobe Photoshop CS3 and a cheap Logitech mouse. No cinema display, no tablet (mine died and I haven't yet replaced it), and no fancy filters or add-ons. Anyways enough with the chit-chat—let's get down to business!
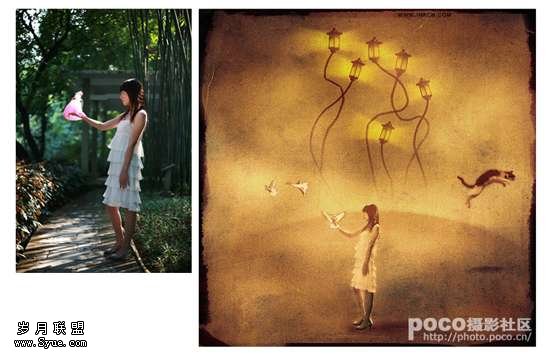
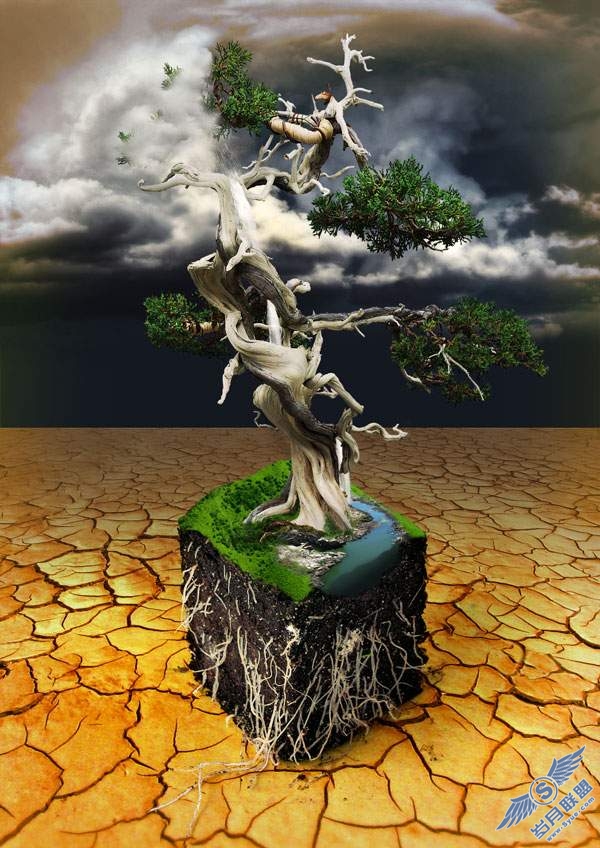
Final Image Preview
Take a look at the image we'll be creating. Want access to the full PSD files and downloadable copies of every tutorial, including this one? Join Psd Plus for just $9/month.
Before Getting Started
Writer's always say that ideas are a dime a dozen — it's the execution that counts. The same holds true with designs, especially illustrations. But the idea is important, without it nothing else happens.
The idea I had for this was pretty a simple. A twisted tree looming over a small slice of land, probably grass covered, maybe with a little river flowing, all with roots sticking out of the slice. I also wanted a brooding sky, dark and stormy. I can't really draw for a lick, but I had a pretty good picture in my head. So I headed off to find some stock.
I wanted a bonsai tree as they had the ancient and twisted look I was going after. I searched for a good shot for free from sxc.hu, but didn't have any luck. Finally I settled on this one from iStockphoto.
Next I was on to the slice of ground. I wasn't sure if I wanted just uprooted ground or maybe something that had been pulled out of a pot. I hunted high and low on sxc.hu until I found this.
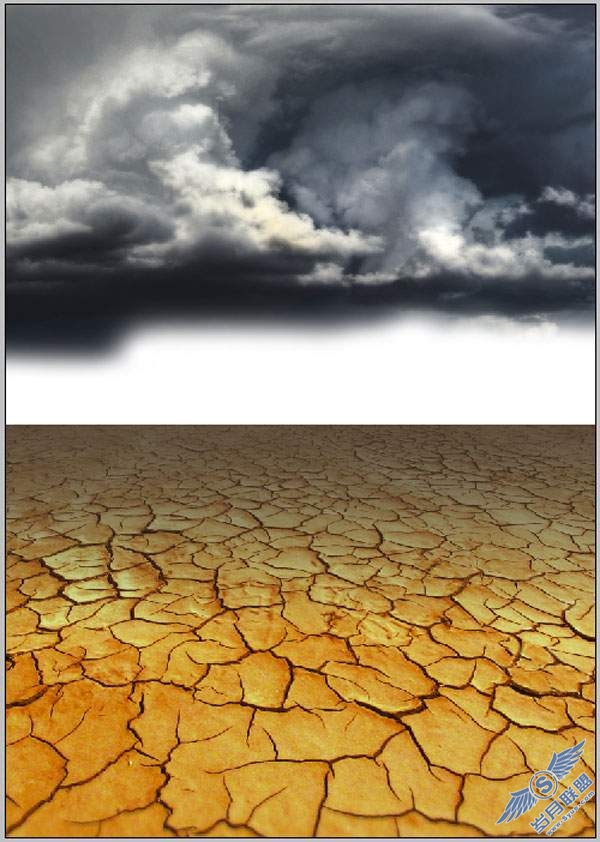
Dark and brooding sky. Thanks to night-fate for this one!
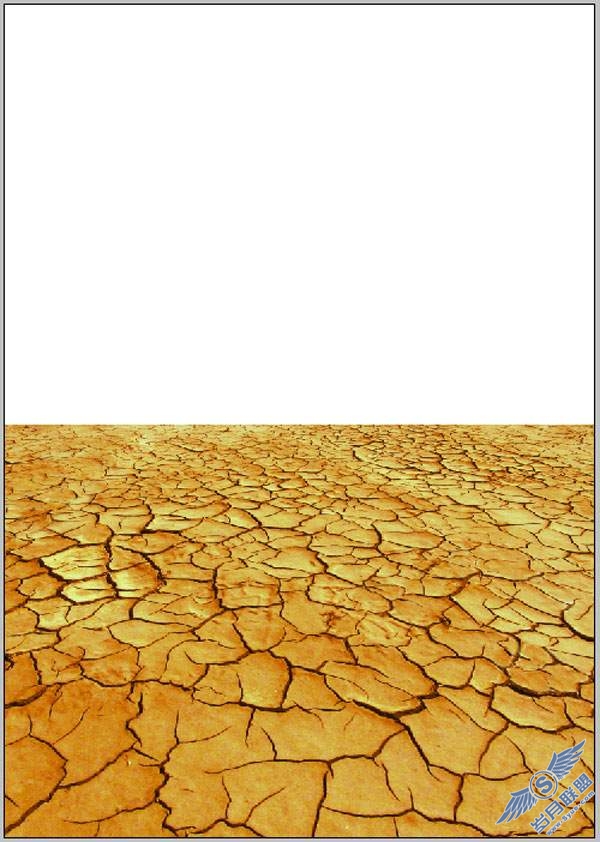
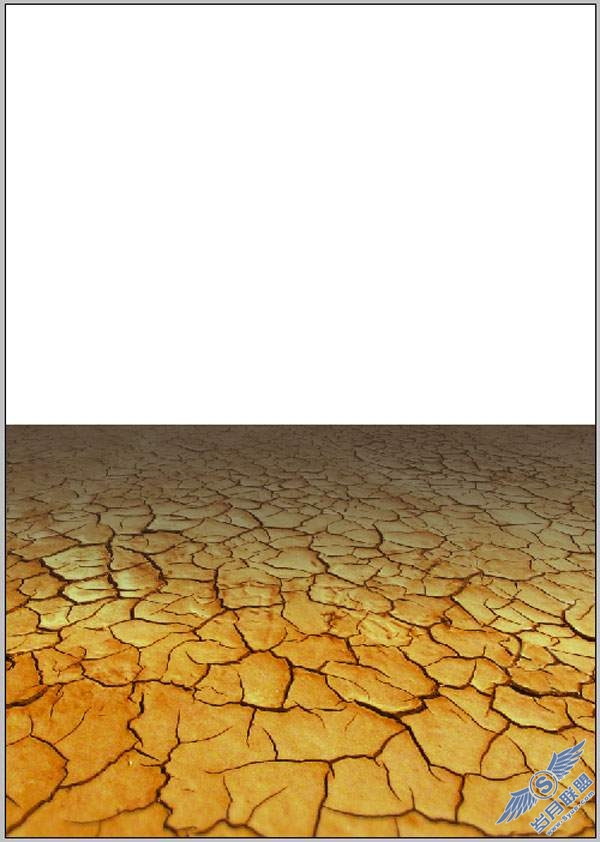
Cracked desert landscape, river, and grassy hills.
While searching through sxc.hu I decided I wanted a waterfall to fall from the tree.
Step 1
To begin with we need to prep the files. This is the part that designers dread, or at least I do.
First off, I started with the tree as I knew it was going to be the most time consuming. Everyone has their own tricks and tools that they like to use when extracting an image.
For the tree I used a two part approach. For the base and limbs I used the Pen Tool zoomed in to 400% and as many points as I needed. You can see that I try to cut the fuzzy edge of the image to give it a clean look.
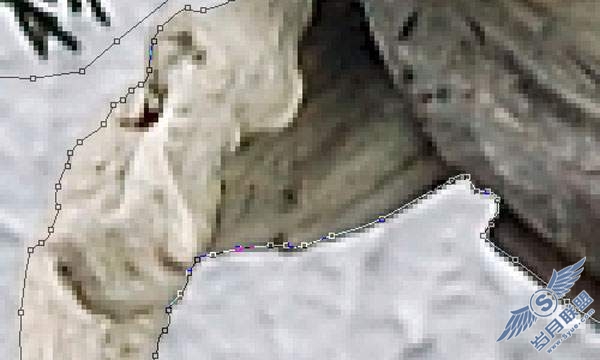
I left a wide birth around the foliage.

Once you are finished with your path you can use it to create a mask. With the Pen Tool right-click on the finished path and select make selection. Set the feather radius to 0 and make sure that Anti-aliased is checked.
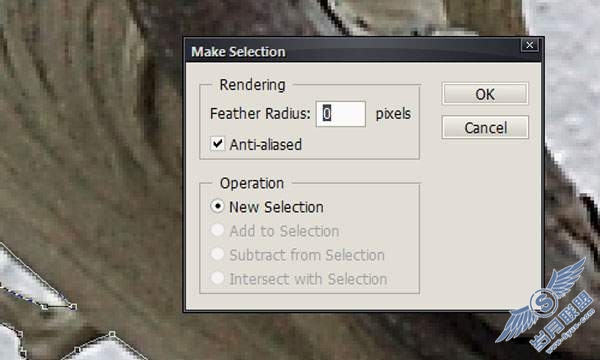
Then with the selection active click on the add layer mask button.
Step 2
For cutting out the foliage, I took a different approach. Using the Pen Tool would have been too time consuming. First duplicate the "tree" layer. Next desaturate by clicking Image > Adjustments > Desaturate (Command +Shift + U).
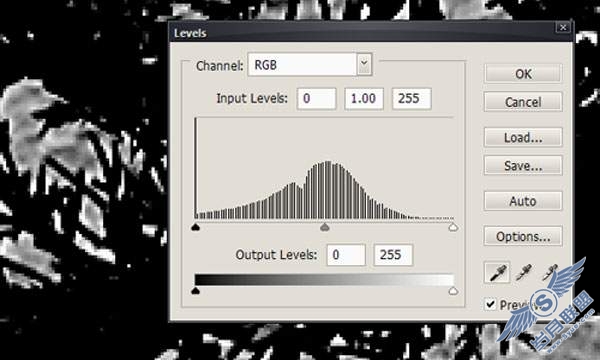
Next we'll to try to make the foliage as dark as we can. Do this by adjusting the levels. Go to Image > Adjustments > Levels (Command + L). Click on the set black point eye dropper and then click on the lightest part of the foliage. You can keep trying different points until you get the foliage almost black.
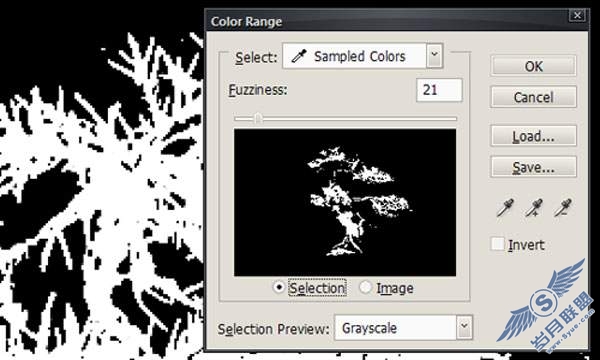
After the levels adjustment, use color range to select just the black foliage. Go to Select > Color Range. I like to set the selection preview to Grayscale for this, it can make it pretty easy to tell how your selection looks. Make sure Select is set to Sampled Colors, then use the Eyedropper Tool to select the black foliage. Adjust the fuzziness slider until only the foliage is selected.
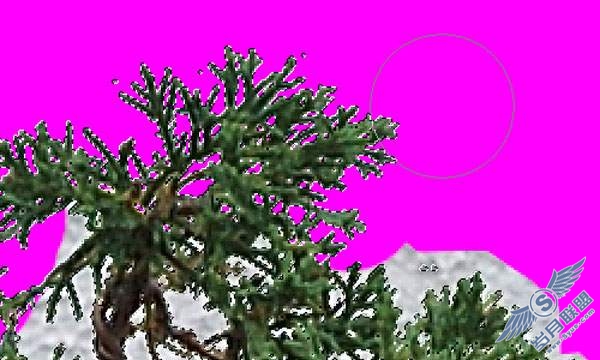
Once you have created your selection, simply delete the grayscale copy. Then invert your selection by going to Select > Inverse or Command + Shift + I. Select a decent sized (I used 60px) hard brush and click on your mask. Now use the brush to paint around the foliage, adjusting the size of your brush so you don't mask out any of the tree itself.
Once you're done carefully painting in your mask, it's time for some touch-up work. When you use a system like this the selection is never going to be perfect. The only real solution is to go through with a small brush and touch up any imperfections.
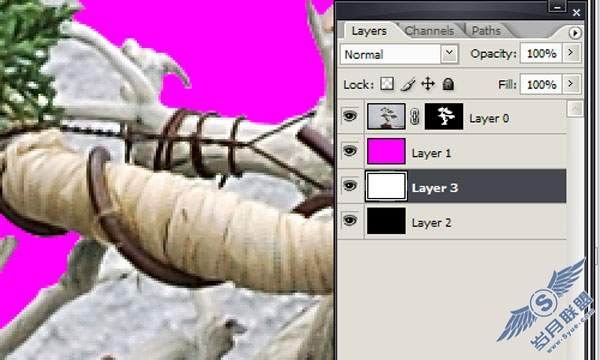
As you can see, I used a hot pink background layer below my tree so that it is easy to see where I have missed on the mask. I usually use a three layer system: 1 high contrast (usually hot pink because nothing in nature is usually hot pink), 1 white, and 1 black. This way I can turn on and off the various backgrounds to make sure that the final product looks good.
After the mask is completed, you can use the mask to select the object and drop it into your composition. Simply Command-click on the mask in the layers palette to make a selection. Then click on the main tree in the layers palette, and either Edit > Copy or Command + C to copy. Go to you main composition and Edit > Paste or Command + V to paste it.
This is really the only image that we need to do a serious cut job on. The rest will be taken care of as we move through the composition.
Step 3
Let's work on the composition now. The first thing we want to do is create the background. I find that illustrations come together better with a background than on a blank canvas.
Start a new file with an A2 canvas (420mm x 594mm). Create a new layer folder named "Background." Open the cracked earth photo, copy it, and paste it into the "Background" layer folder. Rename the layer "Soil."
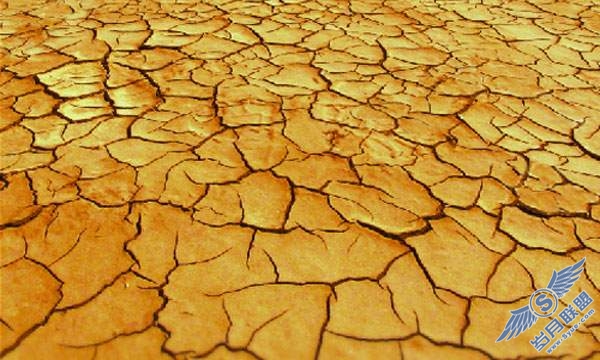
We are going to set the horizon line at about the center of the canvas. Hit Command + T to transform the "soil" layer. We need to resize the layer and give it some perspective so that it looks like actual ground.
Right-click anywhere on the canvas and choose Perspective. Pull the top anchors towards the center of the canvas, this will shrink the top of the image while leaving the bottom the same size giving the illusion of a horizon. Your goal here is to match the perspective to that of the slice of soil we are using for the base of the tree, as shown below.
Step 4
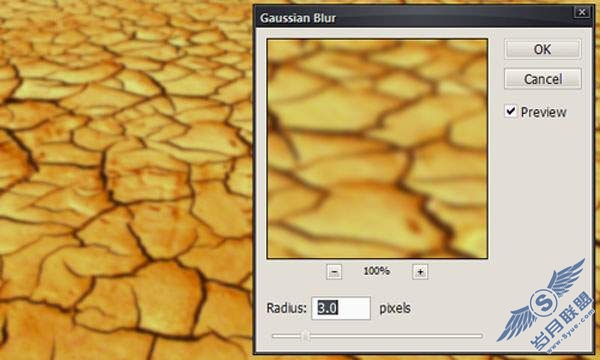
Now we will enhance the illusion of the ground running away from us. First we are going to add some lens distortion at the very bottom of the image. Duplicate the Ground layer by clicking Command + J or drag the layer in the layers palate down to the New Layer icon. Rename this layer "Ground Lens Blur," then go to Filter > Blur > Gaussian Blur. Set the radius to something small around three as we don't want the blur to be too pronounced.
After applying the blur we need to mask out all of the area that we don't want to have the blur. Make sure that you have the "Ground Lens Blur" layer selected and then click on the layer mask button at the bottom of the layers palette.
Press D to set the colors to default (black and white) and click on the Gradient Tool. Make sure you have the linear gradient selected. Click on the layer mask and draw a thin gradient going from white to black from the bottom of the layer to the top, your mask should look like the image below.

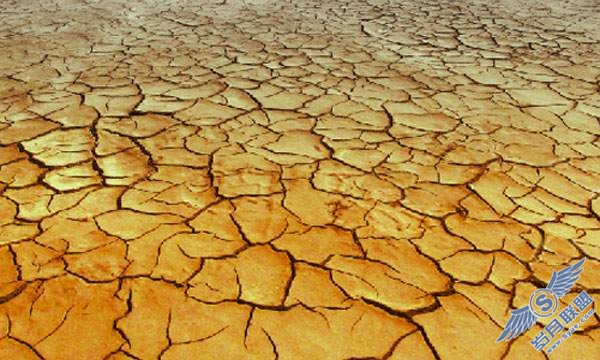
And the ground should now look like the following image.
Step 4
Now we are going to desaturate the ground as if it's going away from the camera. Duplicate the original "Ground" layer again and name this one "Ground Desaturate." Desaturate the layer by going to Image > Adjustments > Desaturate (Command + Shift + U).
Now create a mask for this layer like we did for the "Ground Lens Blur" layer. Use the Gradient Tool again to create a gradient in the opposite direction right along the horizon.

Set the "Ground Desaturate" layer to 72% Opacity. Your ground should now look like the following image.
Step 5
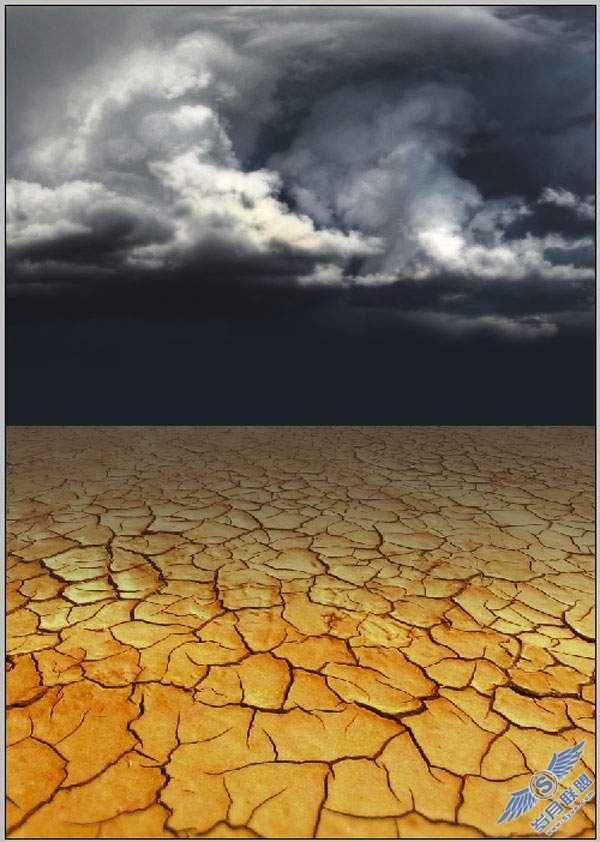
Now we are going to darken the ground at the horizon to match the dark sky. Create a new layer and name it "Ground Darken." Command-click on the "Ground" layer. Use this selection to create a fill in the "Ground Darken Layer."
Fill the selection with the color #463221, this is a dark color selected from the shadows of the cracks in the image. Alt-click on the mask of the "Ground Desaturate" layer. This will show you the actual mask.
Command-click on the Layer Mask on the "Ground Desaturate" layer, then select the "Ground Darken" layer and click on the Create Layer Mask button. This will create a mask identical to the mask on the "Ground Desaturate" layer. Your image should now look like that shown below.
Step 6
Now we will add the sky. Open up the sky image and copy and paste it into the "Background" layer group. Place it below all the ground layers. We want to resize it so that it fits the width of the image. Then flip it horizontally by using Command + T, then right-clicking on the image and choosing Flip horizontally. Then we are going to mask out the little dangling cloud on the bottom-right of the image.
Just create a mask for the layer, and paint out the cloud with a large, soft brush. Using the same brush, fade out the rest of the bottom of the image. It should look like the image below.
Create another layer below the clouds and name it "sky." Fill it with the color #161a23, as shown.
Step 7
Now we are going to add in the slice of soil. Create a new Layer Group name it "Soil." Open up the parsley pic and copy and paste it into the "Soil" layer group. Normally I would take this pic and cut it out, but for this I want to preserve the shadow from the original. To do this, I set the layer mode to Multiply.