ASP.NET中的Code Behind技术(2)
来源:岁月联盟
时间:2007-01-06
1).新建一个HTML页面
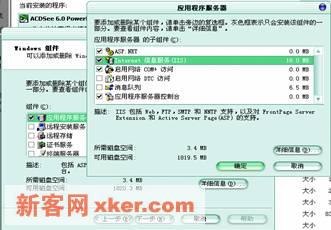
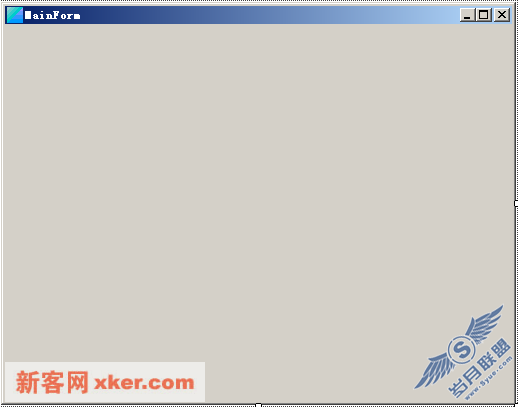
你可以使用微软的FontPage来设计你的页面的整个布局。把你的所以选项都设计到此页面中去。具体的界面如下图:

把此HTML文件命名为send.htm。具体代码如下:
<html>
<head>
<meta http-equiv="Content-Type" content="text/html; charset=gb2312">
<meta name="GENERATOR" content="Microsoft 4.0">
<meta name="ProgId" content="FrontPage.Editor.Document">
<title>New Page 1</title>
</head>
<body>
<h3>欢迎进入Code Behind设计界面</h3>
<form>
<table border="1" width="100%">
<tr>
<td width="100%" colspan="2">请填入下列各项:</td>
</tr>
<tr>
<td width="35%">姓名</td>
<td width="65%"><input type="text" name="Name" size="20">
</td>
</tr>
<tr>
<td width="35%">电子邮件地址</td>
<td width="65%"><input type="text" name="Email" size="20">
</td>
</tr>
<tr>
<td width="35%">内容</td>
<td width="65%">
<textarea rows="7" name="Message" cols="26">
</textarea>
</td>
</tr>
<tr>
<td width="100%" colspan="2">
<input type="submit" value="Submit" name="B1"></td>
</tr>
</table>
</form>
<p></p>
</body>
</html>